 MURMURLAYER
GUIDES
Compare Two Video Versions Side by Side
Align a shared event with a fixed offset, review both clips together, and capture individual frames for clear comparison notes.
Different playback positions can look like different quality
Two video versions may differ in only one detail, yet comparing them can become a loop of switching players and pausing again. Is the hand better in one version, or did you stop at a different part of the gesture? Aligning a visible event first helps separate a timing mismatch from the change you actually want to evaluate.
Murmurlayer provides shared playback, a shared timeline and a fixed time offset for take B. You can capture an image from either take separately. The tool supports your visual review; it does not assign a quality score, match audio or decide which version to use. Start with a specific question so the comparison produces a useful decision.
Align the takes before judging their differences
1. Establish what A and B represent
Open video comparison and put the original in A and the revision in B, or choose another consistent convention. Note the version of each file and the intended change: perhaps a longer intro, a color adjustment or a different object position. Follow the page guidance for videos under 300 MB each and confirm that both play in the browser. Similar filenames alone do not establish that the clips are corresponding versions.
2. Find a recognizable event in both clips
Use a clear action, an object making contact or a visible cut as an alignment point. Find when that event occurs in each take. If their starts differ, adjust Take B offset / seconds. The current relationship is B time = A time + offset. A positive value reads a later moment in B; a negative value reads an earlier one. The setting shifts the correspondence between the two timelines, rather than changing either source file.
For example, suppose B contains an extra half-second intro. A shared event appears at 2.0 seconds in A and 2.5 seconds in B. Start with a +0.5-second offset, then inspect the event again. This is an alignment example, not a claim that the tool has detected the difference for you. If the pictures move further apart, check the sign and the event times before changing other settings.
3. Play and scrub through several checkpoints
Choose Play together or move the Shared timeline. Verify the alignment near the selected event, then inspect a middle and late point as well. Focus on one question at a time: subject placement, limb shape, color, or a brief visual inconsistency. Playback helps reveal how a change develops; pausing helps you inspect its appearance at a particular moment. Use both views instead of selecting one favorable still from each version.
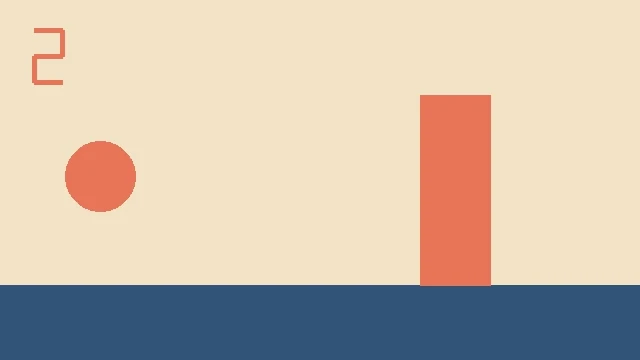
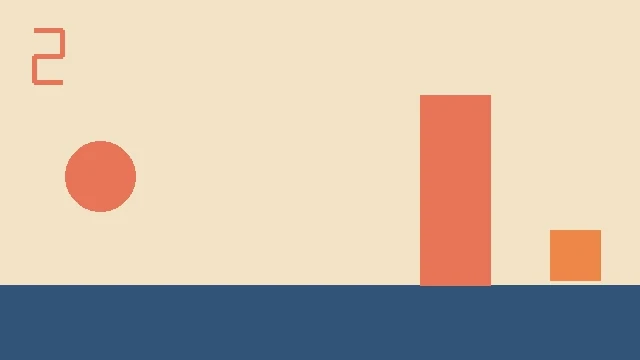
B offset +0.50s. The orange square is an edit built into the sample.
4. Capture A and B separately
Pause at a moment worth discussing and use Capture take A and Capture take B. The individual images go into Your selects. Check their source, timestamp and filename before saving them so the version labels remain clear later. Browser seeking is not guaranteed to be frame-exact. For a very brief artifact, inspect the nearby motion as well as the two stills; a small timing difference can change the apparent shape of a moving subject.
5. Record an observation someone can act on
Keep the version names, alignment event, offset and location of the issue together. A note such as “the wrist changes shape just after the object is lifted” is easier to act on than “B looks unnatural.” Attach the corresponding images when useful, while retaining the clips for motion review. If the deliverable needs to be a single split-screen video, compose it in an editor that supports that output. This comparison tool does not export a merged video.
Common mistakes to avoid
- The opening matches, but the ending drifts. A constant offset cannot correct different playback speeds or changes in speed over time. Inspect shorter matching sections, or adjust the timing in an editor before comparing the entire sequence.
- Using the same clip twice as evidence of quality. That can demonstrate the controls, but it does not compare two generation methods or prove which one performs better.
- Judging motion from one still. A transition, motion blur or a short deformation needs surrounding frames for context. Check the original movement before assigning a cause.
- Ignoring the overlapping time range. If one clip is shorter, or an offset points outside its duration, the edge positions may not represent corresponding moments. Make comparisons where both takes contain the relevant content.