 MURMURLAYER
GUIDES
Split a 4- or 9-Panel Storyboard into Images
Turn a storyboard grid into individual images by setting rows, columns and boundaries, then check borders, order and source resolution.
Your storyboard is ready, but each shot needs its own file
A nine-panel storyboard makes it easy to see a sequence at once. The next step can be less convenient: the tool you want to use may expect one image per shot. Repeatedly drawing crop boxes and saving files creates plenty of opportunities to leave a border, include part of the next panel or lose track of the sequence. A grid-based split gives you a more consistent starting point.
In Murmurlayer, you set the rows, columns and boundaries of a rectangular storyboard. The tool crops the regions you define. It does not infer the story, repair missing detail or decide which shot comes next. Keep the complete original sheet so you can check both the pictures and their intended order after splitting.
Split the sheet and inspect the panels
1. Count the rows and columns
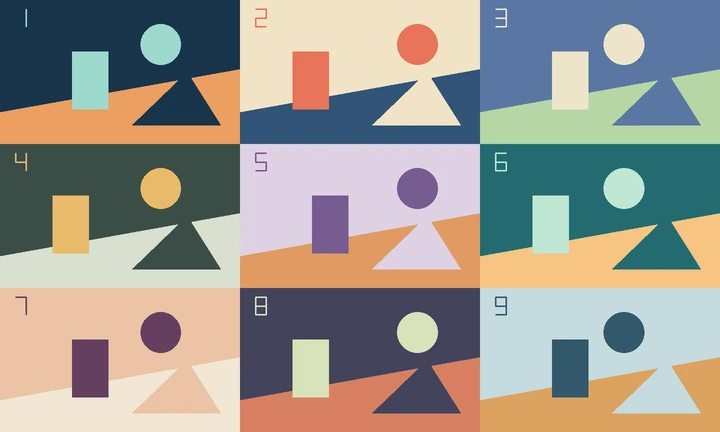
Open the storyboard splitter and choose the original PNG, JPG or WebP file. Follow the page guidance for images under 60 MB and 40 megapixels. A typical four-panel board uses two rows and two columns; a typical nine-panel board uses three of each. Check the actual layout rather than relying on its name. A title above the panels or captions below them are not extra rows of shots. The grid supports up to eight rows and eight columns.
2. Estimate the usable resolution of each panel
The dimensions of the whole sheet are not the dimensions of a single shot. For example, a borderless 1440 × 864 image divided evenly into three columns and three rows has a designed panel size of 480 × 288 pixels. Margins and gutters reduce the available picture area. Use that estimate to decide whether each panel has enough pixels for your next step. Check the original file’s dimensions rather than the size at which a webpage happens to display it.
3. Align the dividers with the picture boundaries
Set the rows and columns, then inspect the overlaid grid. Move the divider lines to match the actual panel edges. Adjust outer margins for the border around the entire sheet and gaps for the space between panels. Begin at the outside edges, then inspect the internal intersections. Pay particular attention to hands, feet and props close to a boundary: a crop can remove an important part even when the grid looks tidy at a distance.
If a divider is misplaced, move it before increasing the gap. Widening a gap to hide an alignment problem can remove useful content from both neighboring panels. A board with unequal rectangular panels may need several divider adjustments. An overlapping or irregular arrangement may need individual crops instead of one regular grid.
4. Split, then review in reading order
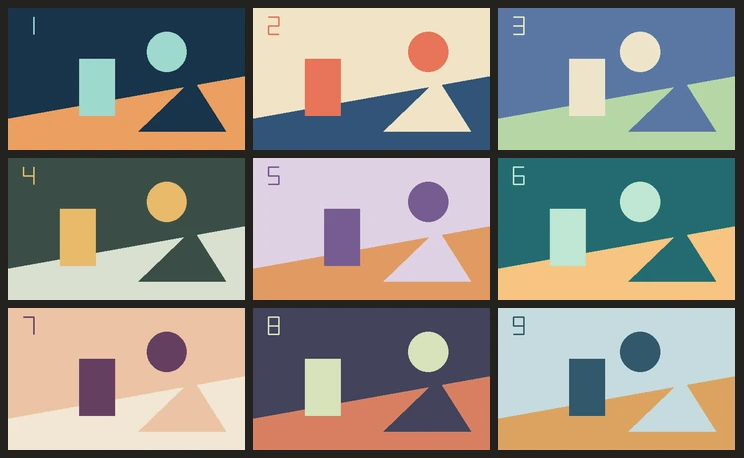
Run the split and inspect Your selects from left to right and top to bottom. A two-by-two layout should give you four regions; a three-by-three layout should give you nine. Count is only the first check. Open each result and look for a neighboring panel, a caption, a border strip or a clipped subject. Compare uncertain edges with the original sheet. If necessary, adjust the grid before splitting again, or use Edit to trim an individual result.
5. Save one panel before exporting the whole group
The splitter produces PNG images. Save one representative panel and open the actual file to check its pixel dimensions and edges. Once the individual pictures are suitable, review the selected items and their order before choosing a group export. A contact sheet can help someone understand the sequence, while a later image-based workflow usually needs the separate panel files. Keep those two uses distinct when handing over references.
Common mistakes to avoid
- Expecting splitting to improve resolution. Cropping a panel does not recover a sharper face, readable lettering or detail absent from the source. If the panel is too small for the next task, improve the source rather than relying on the split.
- Checking only the middle panel. Outer rows and corners can retain the sheet’s frame even when the central crop looks clean. Inspect all four outside edges and the corners as well as internal boundaries.
- Forcing equal divisions onto unequal panels. Move the actual boundaries before cropping. Otherwise one result can lose content while the next gains a strip of its neighbor.
- Assuming reading order is story order. The output follows the grid’s reading order. If the original uses arrows, a special narrative arrangement or repeated panels, organize the sequence yourself before using it.